

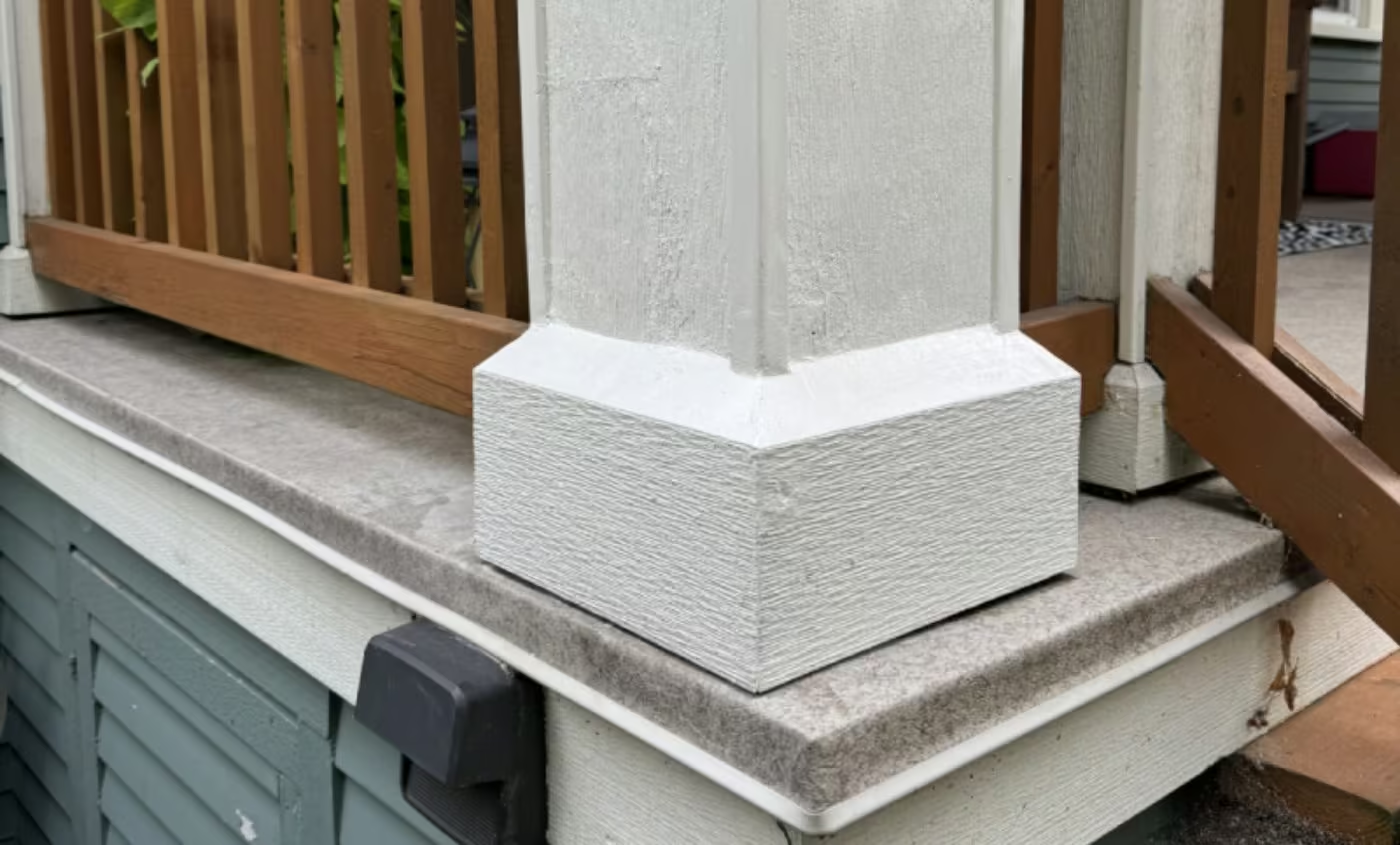
Maintaining the exterior trim of your home is essential for both aesthetics and structural integrity. Over time, exposure to moisture, sun, and the elements can cause wood trim to rot, leading to more severe damage if not addressed. The good news? Repairing rotten trim is something you can do yourself with a bit of time and effort. Here’s a step-by-step guide on how to repair rotten trim on the outside of your home.
1. Why Repair Rotten Trim?
Rotten exterior trim may seem like a small issue, but it can quickly become a significant problem if ignored. Trim that’s deteriorating due to moisture allows water to penetrate the underlying structure of your home, leading to potential mold, mildew, and even structural damage. Repairing it promptly will:
- Protect your home’s exterior from further damage
- Maintain curb appeal
- Save you money on more costly repairs down the line
- Ensure your home’s structural integrity is intact
2. Tools and Materials You’ll Need
Before starting, gather all the tools and materials you’ll need for the job. Here’s a list to ensure you’re fully prepared:
- Pry bar
- Hammer
- Circular saw or handsaw
- Oscillating saw and fresh blades (optional)
- Chops saw (optional)
- Tape measure
- Chisel
- Wood filler AND epoxy
- Replacement trim (pressure-treated or rot-resistant wood)
- Caulk (exterior-grade)
- Sandpaper (medium grit)
- Primer and exterior paint
- Paintbrush or roller
- Putty knife
- Safety goggles and gloves
3. Step-by-Step Repair Guide
Step 1: Inspect and Identify the Rotten Sections
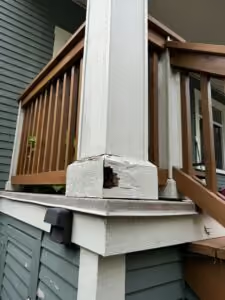
Start by thoroughly inspecting the trim around windows, doors, or rooflines. You can often spot rot visually, but it’s good practice to press on suspect areas with a screwdriver or chisel. Rotten wood will feel soft and spongy. Mark any areas that need to be replaced.
Step 2: Remove the Rotted Wood
Once you’ve identified the areas to repair, carefully remove the rotten wood. Use a pry bar to loosen the trim pieces and a saw to cut away the damaged sections. Be careful not to damage the underlying siding or structure.
Step 3: Prepare the Area
After removing the rotted wood, inspect the area for any hidden damage. If the underlying structure shows signs of water damage or rot, you may need to repair that as well before proceeding. Clean out any debris and make sure the area is dry.
Important:
Before tossing your piece of rotten trim in the trash, take it to your local paint supply store and have them match the paint exactly. This way the product will match perfectly the first time.
If the rot was minimal, and you’re not replacing the entire piece of trim, you can use wood filler or epoxy to patch the section. Apply the filler with a putty knife, ensuring it’s pressed firmly into the area, then let it cure according to the manufacturer’s instructions.
Step 4: Cut and Install Replacement Trim
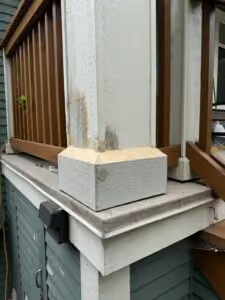
Measure the length and width of the trim you’ve removed and cut your replacement piece accordingly. Pressure-treated wood, fir and cedar are ideal choices for exterior trim as they resist rot. You’ll likely need to take a scrap of the rotten trim to the building supply to see if they have your specific profile in stock. A word of caution: if your home is older, the trim you’re looking for may not be readily available and may be a special order product. You can always take a photo of the trim first beofre you remove it from your home and ask your supplier if they carry it.
Use a saw to cut the new trim to size, then secure it in place with nails or screws.
There are new products on the market
Ensure the new piece fits snugly and aligns with the existing trim for a clean, seamless look.
Step 5: Seal, Caulk, and Paint
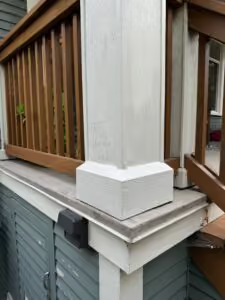
Once your new trim is in place, it’s essential to seal the area to prevent future water damage. Use exterior-grade caulk to fill in any gaps between the trim and the surrounding elements. Focus on areas around joints, edges, and corners.
After the caulk has cured, apply a primer designed for exterior use. Once the primer is dry, finish with a coat or two of exterior paint to match your home’s color. We like to use exterior grade paints from Benjamin Moore, with the ‘Aura’ line being our number one choice. Painting helps protect the wood from the elements and extends its life.
4. Tips for Preventing Future Rot
- Use Rot-Resistant Materials: Opt for pressure-treated wood, fir, or cedar when replacing trim.
- Proper Caulking: Always ensure the trim is properly caulked to prevent water from seeping behind it.
- Regular Maintenance: Inspect your trim at least once a year for signs of rot or damage, and touch up paint as needed.
- Good Drainage: Ensure that gutters and downspouts direct water away from the house. Water pooling near the foundation or dripping onto trim can accelerate rot.
5. When to Call a Professional
While most homeowners can handle repairing small sections of rotted trim, there are cases where calling a professional is the better option. If the rot has spread to structural elements, or if you’re uncomfortable working with power tools, consider hiring a contractor. Professionals have the experience to assess any underlying issues and ensure a thorough repair.
6. Conclusion
Repairing rotten trim on the exterior of your home can be a straightforward task if approached methodically. By addressing rot promptly and using durable materials, you can protect your home from further damage and enhance its curb appeal. With the right tools and these steps, your home’s exterior will stay in great shape for years to come!
By following these guidelines, you’ll be able to tackle rot repair confidently and keep your home in top condition. Happy DIY-ing!