

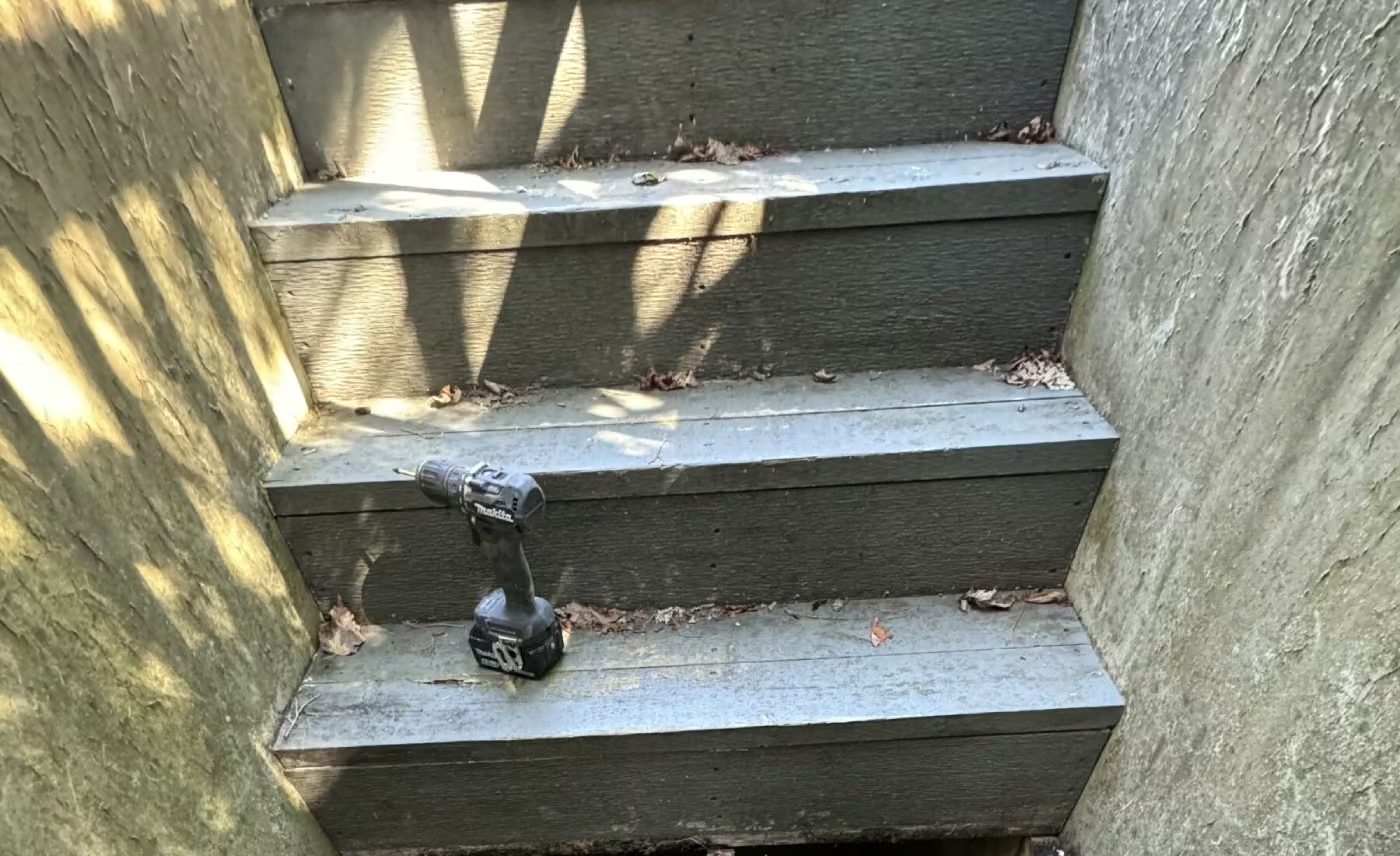
If you live on Vancouver’s North Shore, you know how the weather can take a toll on exterior wood structures like stairs. Constant exposure to rain and moisture often leads to rotting, especially on outdoor stairs. Rotten stairs are not only an eyesore but also a significant safety hazard. We’ll show you how to repair these common issues, ensuring your stairs are safe, sturdy, and built to last.
In this blog post, we’ll walk you through our process for repairing rotten exterior stairs, step by step.
Why Exterior Stairs Rot
Before diving into the repair process, it’s essential to understand why exterior stairs are prone to rot, especially in areas like Vancouver’s North Shore. The combination of high humidity, frequent rainfall, and cool temperatures creates the perfect environment for wood decay. Over time, even pressure-treated wood can succumb to these conditions if not properly maintained.
Step 1: Removing the Rotten Sections
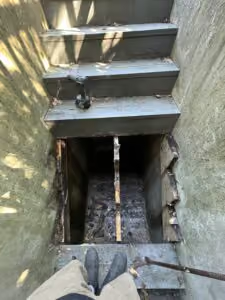
The first step in our repair process is to remove the rotten sections of the stairs. Begin by carefully inspecting the entire structure to identify the extent of the damage. Once the rotten areas are marked, use tools like an oscillating saw and reciprocating saws to remove the affected wood. It’s crucial to remove all the rot, as any remaining decayed wood can continue to deteriorate and compromise the integrity of the stairs.
Step 2: Treating the Rotten Areas with Wood Hardener
After removing the rotten wood, treat the surrounding areas with wood hardener. This step is vital because it reinforces any slightly compromised wood that isn’t entirely decayed. The wood hardener penetrates the wood fibers, creating a solid base for the new wood sections that will be installed. This treatment not only strengthens the remaining wood but also helps prevent future rot.
The wood hardener must be installed on a dry day, with no rain expected the next day either. If this is not possible, either remove all of the rot, or
Step 3: Installing New Pressure-Treated Stringer Lumber
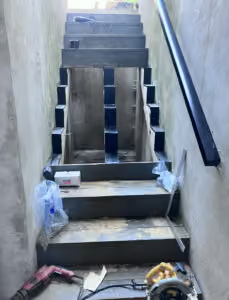
With the damaged sections removed and treated, it’s time to install new pressure-treated stringer lumber. Stringers are the structural supports that run along the underneath, or sides of the stairs, holding the treads in place. Use pressure-treated lumber because it’s designed to resist moisture and decay, making it ideal for Vancouver’s damp climate.
Step 4: Applying G-Tape Waterproofing to the Stringers
One of the key steps in the repair process is applying G-Tape waterproofing to the tops of the stringers. G-Tape is a high-quality, self-adhesive flashing tape that creates a waterproof barrier. You can procure this, or similar products from Dicks Lumber in North Vancouver. By applying this tape to the tops of the stringers, we add an extra layer of protection against moisture, further prolonging the life of your stairs. This step is especially important in our region, where heavy rainfall is a regular occurrence.
Step 5: Installing New Pressure-Treated 2×6 Treads
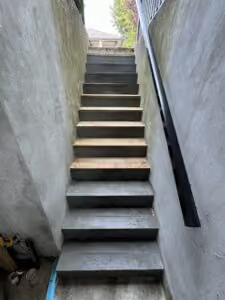
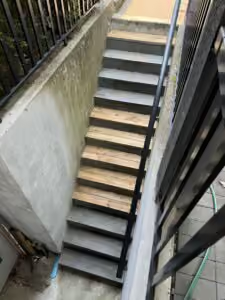
Once the stringers are in place and waterproofed, we install new pressure-treated 2×6 treads. These treads are the horizontal surfaces you step on when using the stairs. The use of pressure-treated lumber ensures that the treads can withstand the wet conditions typical of the North Shore.
Why We Don’t Paint the Treads
You may notice that we typically don’t paint the treads, and there are two main reasons for this:
- Moisture Content: Pressure-treated lumber is usually still damp when installed. It takes several weeks for the free water in the wood to evaporate. Painting the treads before they’re fully dry can lead to issues like peeling or bubbling paint, which defeats the purpose of protecting the wood.
- Durability and Maintenance: Exterior stair treads endure a lot of wear and tear, especially in the winter months when rain, snow, and ice are common. Leaving the treads bare provides the benefit of a low-maintenance solution. Unpainted treads are less likely to show wear and can be easily cleaned or replaced if needed.
Conclusion
Repairing rotten exterior stairs on Vancouver’s North Shore requires a thorough and careful approach. At Microworks, we ensure that each step of the process is done with precision, using high-quality materials and methods that stand up to our challenging climate. By following the steps outlined above, you can restore your stairs to their former glory, providing you with safe, durable, and low-maintenance stairs that will last for years to come.
If you have exterior stairs in need of repair and you’re not planning on tackling it yourself, don’t wait for the problem to get worse. Contact Microworks today, and let us help you maintain the safety and beauty of your home.