

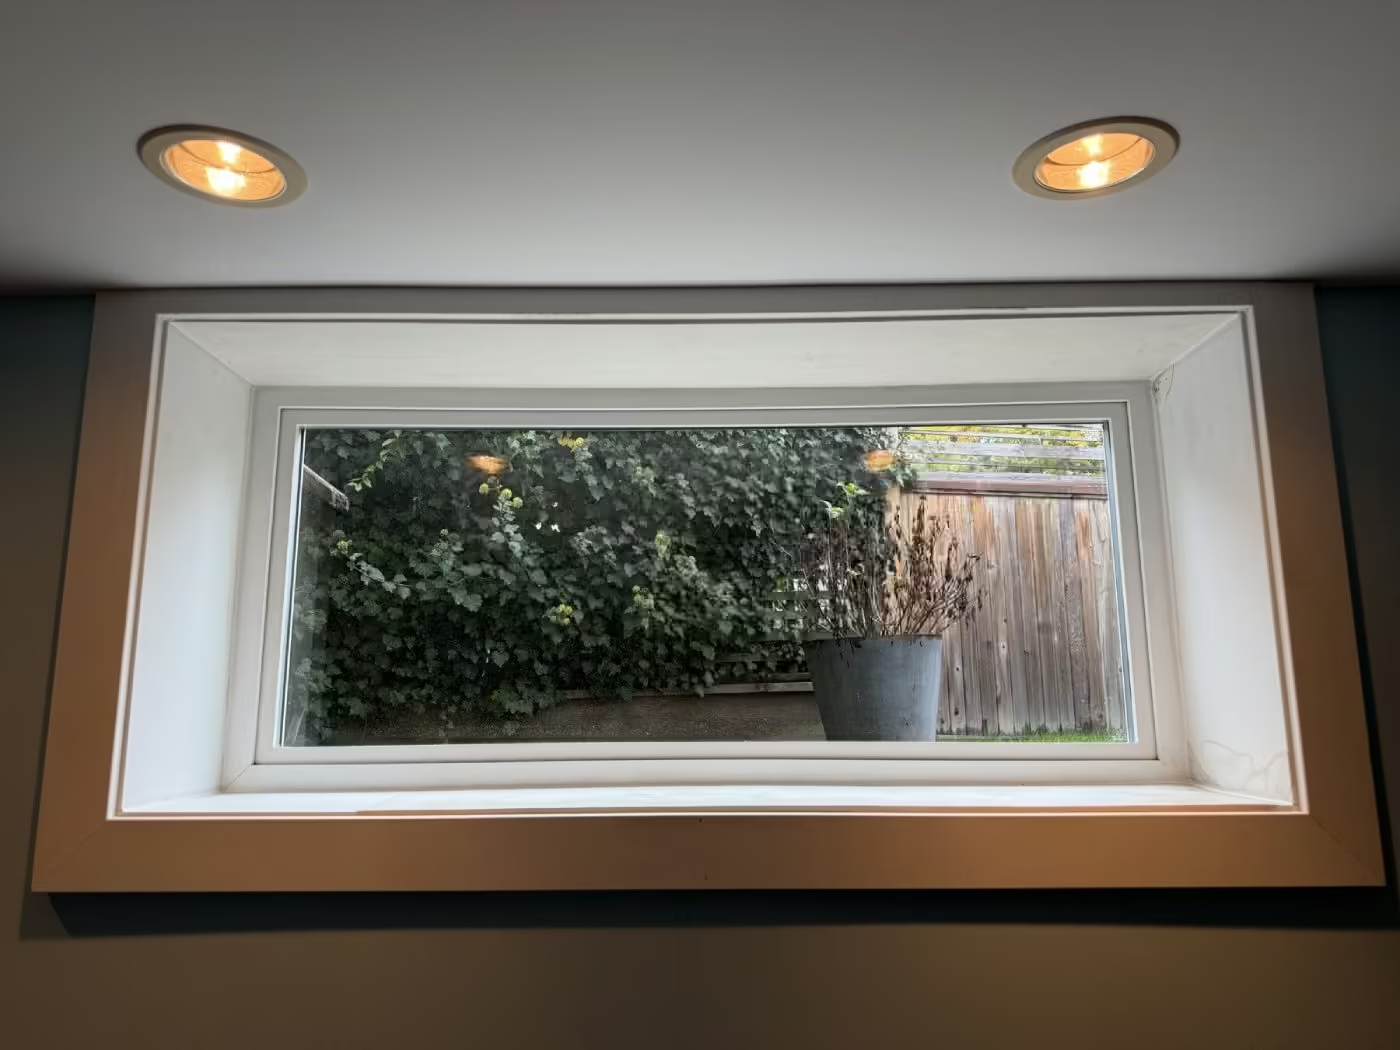
If you’ve noticed cracked, loose, or fallen trim above your window, don’t worry, it’s a common issue, especially in older homes across Vancouver, North Vancouver, West Vancouver, Burnaby, and Coquitlam. A proper repair can make your interior look polished again and prevent long-term damage from moisture and drafts.
This guide walks you through how Microworks Handyman handles interior window trim repairs step by step. Follow along to learn how it’s done, what materials you’ll need, and when it’s best to call a professional.
Step 1: Removing the damaged MDF trim
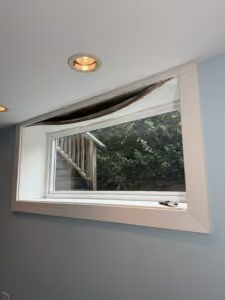
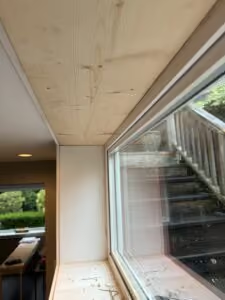
Start by carefully removing the damaged or fallen MDF section above your window. Use a utility knife to score along the seams and a putty knife to gently pry it loose. Clear away any leftover nails, adhesive, or debris. The surface should be clean and level before you install anything new.
Step 2: Prepare the surface
Once the damaged piece is gone, sand the area to remove any rough spots or residue. Then, vacuum or brush away the dust. A smooth, clean surface helps the new MDF adhere tightly and align properly.
Step 3: Cut and install the new MDF section
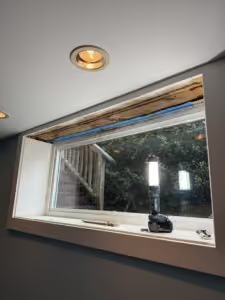
Measure the space above the window accurately, twice if needed. Cut your new primed MDF section to match the length and width of the original trim.
Apply a thin bead of construction adhesive along the back, position it in place, and secure it using finishing nails. Make sure it sits flush and square.
Step 4: Apply caulking for a seamless finish
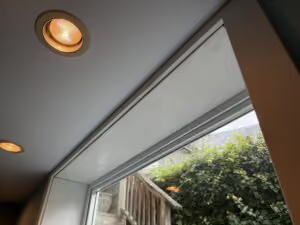
Using a caulking gun, apply paintable caulk along all the edges and seams where the new trim meets the wall and ceiling. Smooth the bead with your finger or a caulk tool for a clean, even line.
Step 5: Prime the surface
Once the caulk is dry, apply a coat of primer over the new MDF section. This seals the surface and helps your final paint coat go on smoothly. If you’re matching existing trim, use the same type of primer or one that’s paint-compatible.
Step 6: Clean the work area
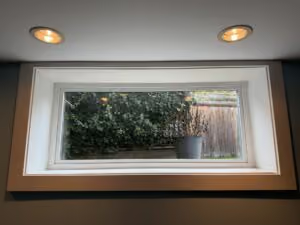
After the trim is primed, clean up any leftover dust, caulk, or debris. Vacuum around the workspace and wipe down surfaces to leave everything paint-ready.
When to Call a Professional?
While this repair can be a manageable DIY project, it’s not always straightforward. If your trim is severely warped, you’re dealing with water damage, or you want a perfectly seamless finish, it’s worth calling a pro.
At Microworks Handyman, we handle all kinds of trim and molding repairs across Vancouver, North Vancouver, West Vancouver, Burnaby, and Coquitlam, using the right tools, materials, and safety gear to get the job done right.
Got questions? Drop them in the comments or send us a message, we’re always happy to help you get the job done right.