
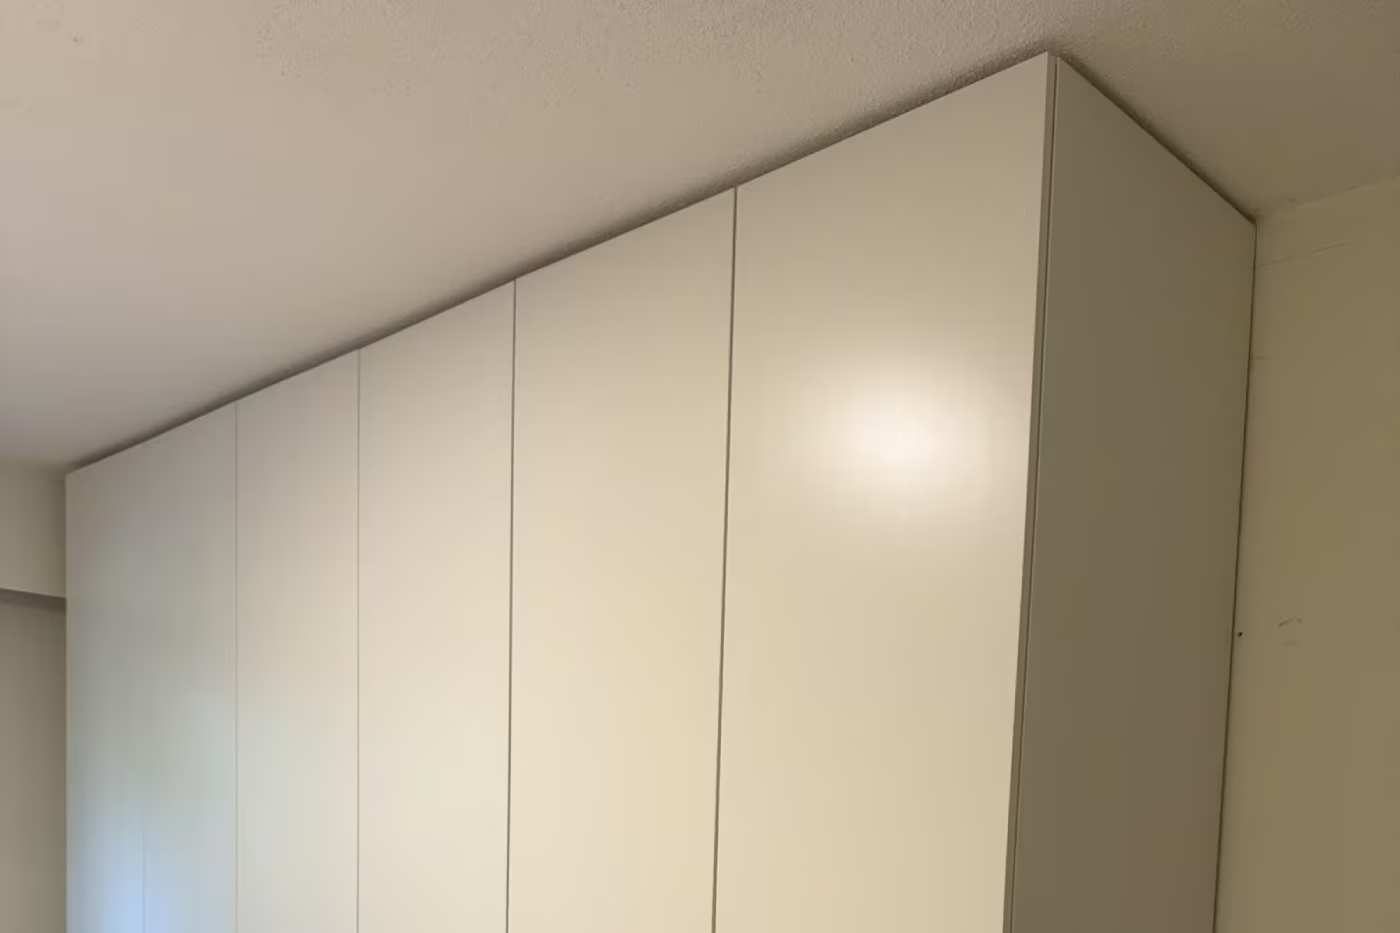
At Microworks Handyman, we love helping homeowners transform their spaces with small projects that make a big difference. One popular project is installing an IKEA PAX wardrobe. These customizable wardrobe systems are perfect for organizing clothes, accessories, and more, but proper installation is key to safety, functionality, and longevity.
If you live in Vancouver, North Vancouver, West Vancouver, or Burnaby, this guide will walk you through what’s involved in a PAX wardrobe installation, whether you plan to do it yourself or hire a professional handyman.
Here’s how to do it right
What You’ll Need
- Before you begin, make sure you have all the necessary tools and equipment. A typical IKEA PAX wardrobe installation requires:
- Screwdrivers (Philips & flathead)
- Drill
- Level
- Measuring tape
- Hammer or rubber mallet
- Allen keys (usually included with PAX kits)
Step 1: Gather the Necessary Tools and Equipment
Suit up: Before anything, put on your PPE, especially eye protection and a dust mask. Older homes may have lead paint or mold hiding behind trim or vanities.
- Safety first:
- Always use Personal Protective Equipment (PPE), including:
- Safety goggles
- Work gloves
- Closed-toe shoes
- Dust mask if cutting or drilling
Step 2: Plan Your Installation
Planning is crucial for a smooth assembly.
- Measure your space carefully to ensure the PAX system will fit.
- Consider your storage needs (shelves, drawers, hanging rails).
- Check that there is access to power tools if needed and enough room to maneuver the panels.
For inspiration on storage solutions, IKEA’s official guide for PAX wardrobes is a great resource: IKEA PAX Wardrobe Planning Guide.
Step 3: Assemble the Wardrobe Frame
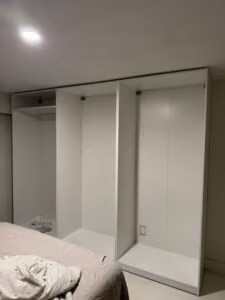
PAX wardrobes come in large panels and components, so assembly should be done on a clean, flat surface.
- Follow IKEA’s assembly instructions step-by-step.
- Lay out all parts before starting.
- Assemble the frame first, ensuring all screws and fittings are secure.
- Use a level to check alignment throughout assembly.
Tip: This step can be easier with two people, especially when handling large panels.
Step 4: Add Internal Components
Once the frame is assembled, add shelves, drawers, and hanging rails according to your storage plan.
Check for stability and proper alignment after adding each component.
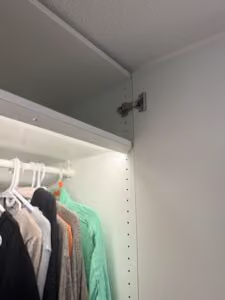
Step 5: Install the Wardrobe in Place
- Move the assembled wardrobe to the installation spot carefully.
- Anchor it securely to the wall to prevent tipping, this is a critical safety step.
- Adjust doors and drawers to ensure smooth operation.
If wall anchoring is unfamiliar to you, IKEA offers a helpful guide on securing wardrobes safely.
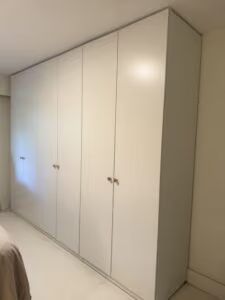
Need a Professional Handyman?
At Microworks Handyman, we focus on small jobs done right. Whether you’re in Vancouver, North Vancouver, West Vancouver, or Burnaby, our team is fully licensed, insured, covered by WorkSafeBC, and we back our work with a warranty.
Get in touch today through our contact page, or give us a call at 604-836-4178 to schedule your project
Want more DIY tips? Check out our recent post: How to Reseal a Bathtub the Right Way.
Got questions? Drop them in the comments or send us a message—we’re always happy to help you get the job done right.